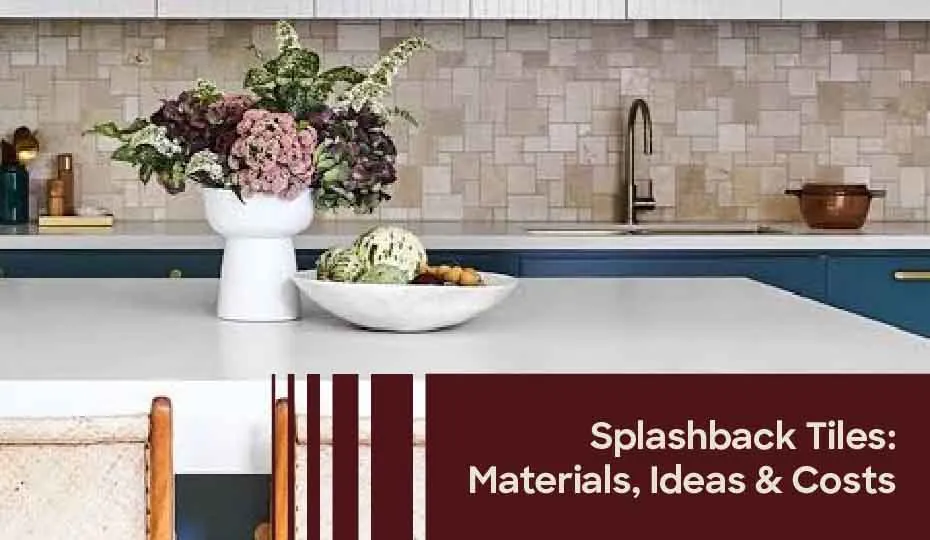
With so many colours, textures, and finishes available, where do you start? Tile, glass, acrylic, stone. Each option looks great in photos, but they don’t all perform the same way in a real kitchen. This guide covers what splashback tiles actually are, how they compare to other materials, and what you’ll likely pay to get one installed properly.
If you’re renovating a kitchen or refreshing a laundry wall, this should give you a clear starting point.
What is a splashback and why does it matter
A splashback is the section of wall between your benchtop and your cupboards. It usually sits behind the sink, stove, or food prep area. Its job is simple: protect the wall from water, oil, and food splatter.
Without one, paint takes a beating. Grease soaks in. Steam causes bubbling and peeling over time. A splashback stops all of that. It also happens to be one of the most visible parts of a kitchen, so it does double duty as a design feature.
Most kitchen splashbacks run between 300mm and 600mm high. That said, some homeowners tile the full wall for a bolder look. There’s no strict rule here, just what suits your space and budget.
Splashback materials compared
Choosing the right material is just as important as choosing the right design. Here’s how the main options stack up.
Tiles
Ceramic and porcelain tiles are the most common splashback choice, and for good reason. They handle heat well, resist moisture, and come in an almost endless range of colours, shapes, and finishes. Grout lines need occasional cleaning, but sealed properly, they hold up for years. Tiles are also easier to repair. If one cracks, you can often replace just that tile instead of the whole splashback.
Glass
Glass splashbacks give a sleek, seamless look with no grout lines at all. They’re easy to wipe down and reflect light nicely in smaller kitchens. On the downside, they show fingerprints and smudges quickly, and scratches can appear over time. Toughened glass handles heat well, though it’s worth checking this before placing it directly behind a gas hob.
Acrylic
Acrylic splashbacks are the budget option. They’re light, easy to install, and come in plenty of colours. However, they’re not always suitable near direct heat sources. If you’ve got a gas cooktop, this is worth discussing with your installer before you commit.
Stone
Natural or reconstituted stone splashbacks create a seamless, high-end look, especially when matched to your benchtop. They’re durable and generally easy to clean. Reconstituted stone can’t sit too close to an open flame, though, so layout matters if you’re working with gas.
So, which one wins? Honestly, it depends on your priorities. If you want variety and easy repairs, tiles are hard to beat. If you’re after a smooth, modern finish with no maintenance, glass or stone might suit you better.
We compared these materials against how a few Melbourne suppliers and installers describe them, and tiles consistently come out ahead on cost flexibility and long-term repairability. That’s a big reason most of our clients still go with tiled splashbacks over panel alternatives.
Popular splashback tile ideas
Once you’ve settled on tile, the design options open right up. Here are a few directions worth considering.
Subway tile splashbacks
Classic, timeless, and easy to clean. Subway tiles work in almost any kitchen style, from modern to traditional. Laying them in a herringbone pattern instead of the usual brick pattern gives the same tile a completely different feel.
Mosaic splashbacks
Mosaic tiles pack a lot of visual interest into a small space. They’re a great fit for splashbacks specifically, since the repeated pattern shows off well in a narrow strip of wall. Just be aware that mosaics mean more grout lines than larger tiles, so cleaning takes a bit more effort.
Herringbone splashbacks
This pattern has become a favourite for good reason. It adds movement and texture without needing bold colour. Herringbone works particularly well with subway-style tiles or narrow stone strips.
Stone-look tiles
If you love the marble or travertine look but want an easier-care option, porcelain tiles printed with a stone effect give you that appearance at a lower cost and with less maintenance.
We’ve got a separate guide to kitchen splashback design ideas if you want more inspiration on colours, layouts and finishes for your space.
Where splashbacks are used
Kitchens are the most obvious spot for a splashback, but they’re far from the only one.
- Behind the sink and stove, a kitchen splashback takes the brunt of daily cooking mess. This is usually where homeowners spend the most on design, since it’s such a visible feature.
- A laundry splashback protects the wall around your tub or bench from water and detergent splashes. It doesn’t need to be flashy, but a tiled finish still looks a lot better than bare paint that’s slowly staining.
- Around vanities, a splashback prevents water damage from taps and everyday use. Since bathrooms already deal with moisture constantly, a well-sealed tile splashback adds an extra layer of protection where it matters.
Whatever the room, the same principle applies. Splashbacks protect surfaces that get wet or dirty often, and tiles remain one of the most practical ways to do that.
Splashback cost and installation
Cost depends on a few things: the tile material, the size of the area, and how complex the layout is. As a rough guide, expect most tiled splashbacks in Melbourne to fall somewhere between $45 and $120 per square metre installed, though larger patterns like herringbone or intricate mosaics can push costs higher due to the extra labour involved.
Installation itself isn’t overly long for a standard splashback. A typical kitchen splashback can be completed in a day or two once the wall’s prepped and measurements are confirmed. Larger areas or more detailed patterns will take a bit longer.
Getting this right matters more than people expect. A splashback sits at eye level, so uneven tiles or sloppy grout lines are hard to miss. Getting a professional in for this part usually pays off, especially around cutouts for power points and appliances.
Ready to get your splashback sorted? Get a Free Quote or call us on +61 472 712 045. We handle everything from material selection to final grout, so you don’t have to guess your way through it.
If you’re weighing up your options, our tiling services page covers the full range of tile work we do across Melbourne, including splashbacks, floors and feature walls.
Frequently asked questions
Are tiled splashbacks better than glass?
It depends on what you’re after. Tiles offer more design flexibility, easier repairs, and generally lower upfront cost. Glass gives you a seamless look with zero grout lines, but it shows smudges more easily and can be pricier to replace if damaged. Neither is objectively better. It really comes down to your budget and the look you want.
How much does a tiled splashback cost?
Most tiled splashbacks cost between $45 and $120 per square metre installed, depending on the tile type and pattern complexity. Simple subway layouts sit at the lower end. Herringbone patterns or mosaic tiles usually cost more because they take longer to install. For an exact figure, it’s best to get a fixed quote based on your specific space.