
About Our Kitchen Tiling in Melbourne
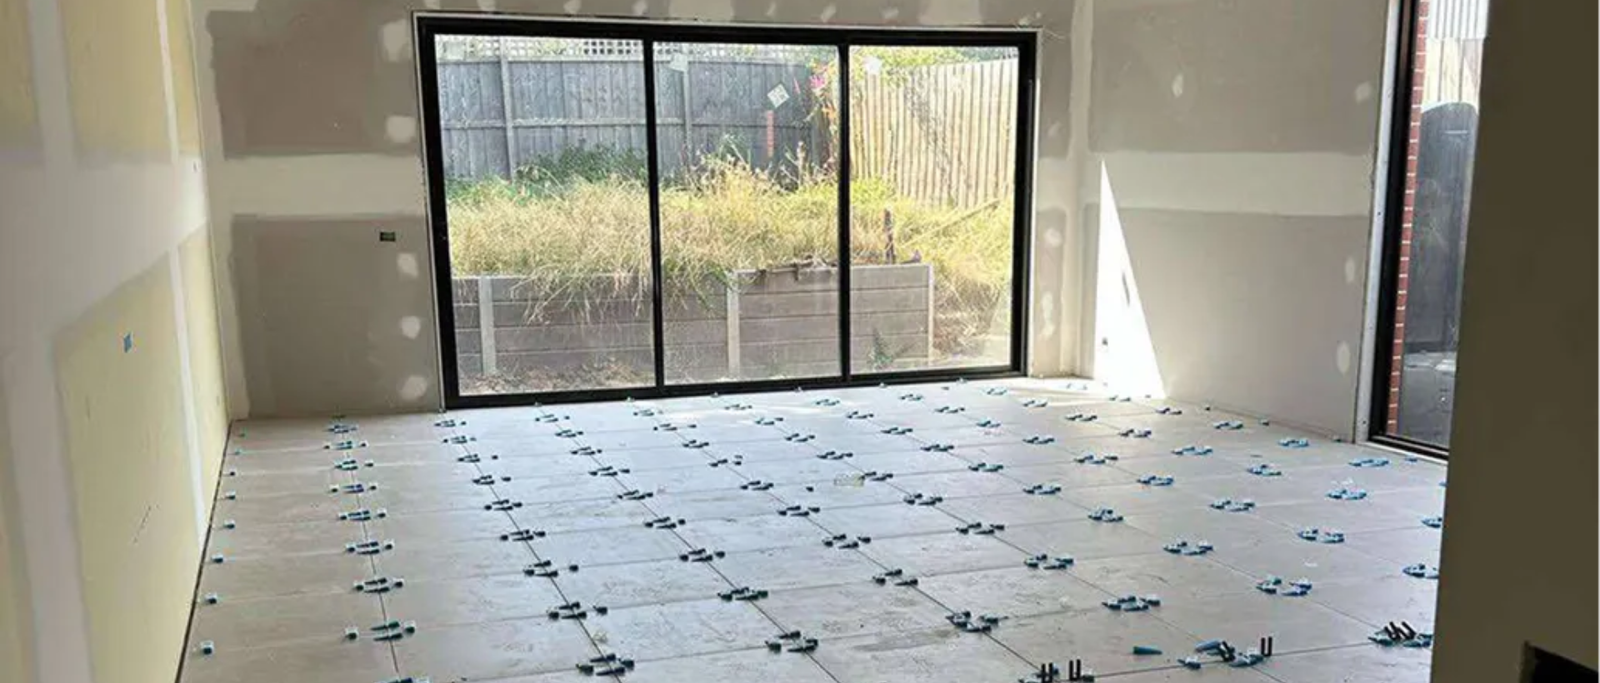
Kitchen tiling in Melbourne works best when the tiler plans before the first tile goes up. A kitchen has power points, cabinets, a sink and a cooktop. Every one of them affects the layout. At Secure Tiling, we tile kitchen splashbacks, feature walls and floors. We keep the lines straight, the surface level, and the joints sealed.
Most kitchen jobs are small, but small jobs show every mistake. A crooked grout line sits right at eye level. So, we measure first, plan the layout, then start tiling.
Kitchen Tiling Services in Melbourne
Our team does kitchen tiling for new builds, renovations and quick updates. We work across inner, eastern, western and southern Melbourne. Whether you want kitchen tilers in Melbourne for a small splashback or a full floor, we can help.
Many kitchens already have old tiles or a glass panel on the wall. We can remove them first with our tile removal service. In some cases, we can tile over them if the surface is sound. We’ll check this when we measure.
We commonly tile the following areas:
| Area | What’s included |
|---|---|
| Splashbacks | Behind the cooktop, sink and benchtop |
| Feature walls | Island ends, rangehood walls and nooks |
| Kitchen floors | Around cabinets, islands and appliances |
| Open plan floors | One floor running from kitchen to dining |
Need tiles elsewhere in the house? Our tiling services in Melbourne cover bathrooms, laundries and more.
Kitchen Splashback Tiling: Set Out, Cut Outs, Power Points and Sealing
Splashback tiling looks simple. The small details decide whether it looks great or just okay. A good kitchen splashback tiler gets three things right.
Set out
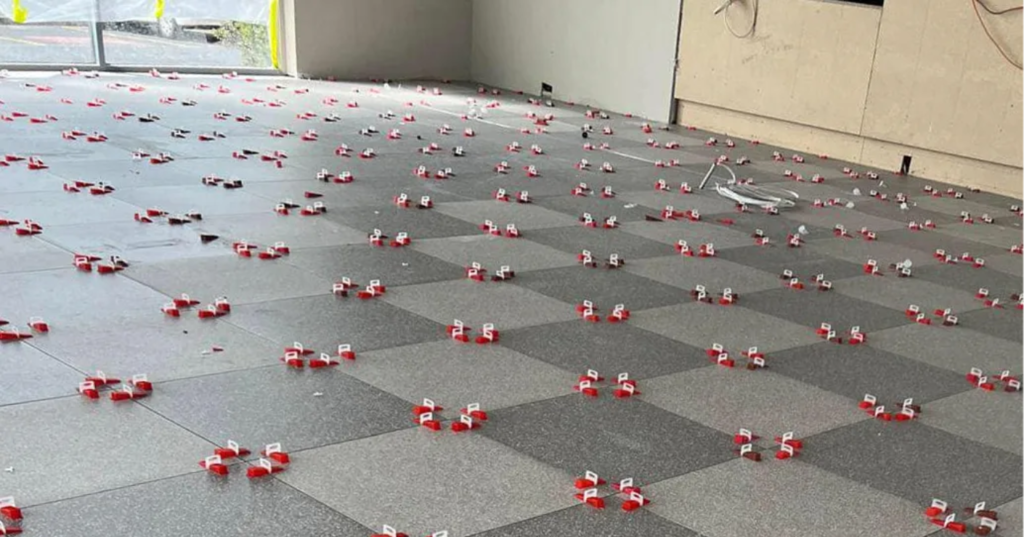
Set out means planning where the tiles start and finish. We usually centre the layout on the cooktop or sink, so the cuts at both ends match. That avoids thin slivers in the corners. We also check that grout lines line up with the benchtop and the cabinets above.
Cutouts and power points
Power points and switches need neat cutouts. We mark each one, cut the tiles to fit, and keep the grout lines tidy around them. Wiring stays with a licensed electrician. If a power point needs moving or loosening, tell us early so you can book that in first.
Sealing
The joint where tiles meet the benchtop moves a little. Grout can crack there, so we use flexible silicone instead. We also seal porous tiles and grout where needed. That helps with oil and sauce splashes near the cooktop. For style ideas, see our kitchen splashback ideas, subway tile layouts and herringbone tiling guides.
Kitchen Floor Tiling Around Cabinets, Islands and Appliances
Kitchen floor tiling has more to think about than a plain room. Cabinets, islands, and appliances all change how we lay the tiles.
Before we start, we check where the cabinets will sit. Tiles that run under the cabinets cost more. Tiles that stop at the kickboards save material. We talk through both options with you.
We also look at the base. A wavy slab shows up quickly under large tiles. If the floor needs levelling, our screeding service can fix that first. Fridges and islands sit on the tiles for years, so a solid bed matters.
Here’s what else we plan for:
- Door clearance and height changes where tiles meet other floors
- The height of the fridge, oven and dishwasher
- Slip resistance, since kitchen floors get wet and greasy
- Grout lines that run straight into the next room
Our Kitchen Tiling Process: Measure, Set Out, Lay, Grout and Seal
We keep the process simple. You’ll know what happens at each step.
- Measure: We visit, measure the area, and note the power points, cabinets, and any old tiles. Then we give you a fixed price.
- Set out: We plan the layout on the wall or floor, so the cuts land in the right spots.
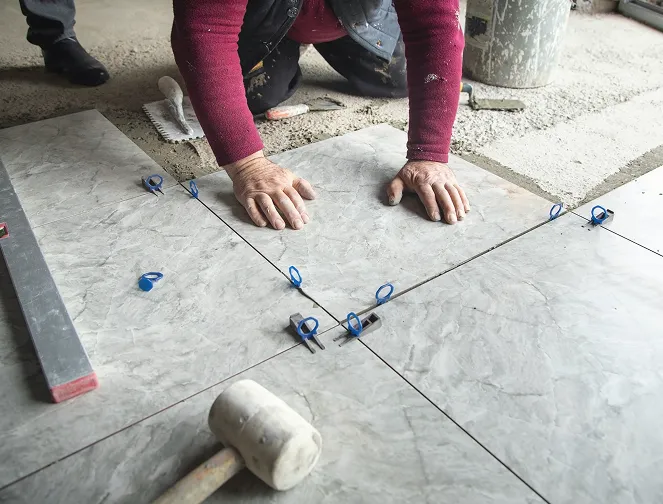
- Lay: We prepare the surface and fix the tiles with the right adhesive. We check levels as we go.
- Grout: Once the adhesive sets, we grout neatly and wipe the tiles clean.
- Seal: We seal the joints and the tiles where needed. Then we walk through the finished job with you.
A splashback often takes one to two days, including grouting. Floors take longer. If an older kitchen only needs fresh grout, our grouting and regrouting service may be all you need.
How Much Does Kitchen Tiling Cost in Melbourne?
Costs depend on the tile, the size, and the prep. Kitchen tiling in Melbourne typically costs about $45 to $120 per square metre installed, depending on the tile type and how complex the job is. For splashback materials and price ranges by tile type, see our splashback tiles guide. Small splashbacks may also carry a minimum charge.
| Factor | Why it matters |
|---|---|
| Tile size and type | Large and stone tiles take longer to cut and lay |
| Layout | Patterns like herringbone use more tiles and more time |
| Area size | A splashback is quick, while a floor takes days |
| Prep work | Old tiles, glass panels, or uneven walls add steps |
| Cut outs | More power points and corners mean more cutting |
We give a fixed price after we measure. So, you’ll know the cost upfront, unless the job changes. You can see examples of our finished work on our projects page.
Why Choose Secure Tiling for Your Kitchen
Kitchens are busy rooms, so the work has to run smoothly. Here’s what you can expect from us:
- A licensed and insured team
- Our own crew, with no subcontracting
- A tidy worksite and on-time starts
- A fixed price after the measure
Kitchen Tiling FAQs
How much does it cost for someone to tile your kitchen?
It depends on the area, the tile and the prep. It usually runs about $45 to $120 per square metre installed. A splashback costs far less overall than a floor. We give a fixed quote after measuring.
How expensive is tiling a kitchen?
Splashbacks are usually the cheaper job, because they cover a small area. Floors cost more because of the size and the prep work. Premium tiles and detailed patterns push the price up.
How long does it take to tile a kitchen splashback?
Most splashbacks take one to two days. The tiles go up on day one. Grouting and sealing follow once the adhesive sets. Removing old tiles can add time.
Can you tile a splashback without removing the benchtop?
Usually, yes. We tile down to the benchtop and seal the joint with flexible silicone. Sometimes an old splashback or a tight overhang gets in the way. We check this when we measure.
Do You Need Help?
Planning a new kitchen or an update? Tell us about the space. We’ll measure up, explain your options, and give you a fixed quote.
Call +61 472 712 045 or fill in the quote form on our contact page. Photos of your kitchen help us quote faster.